How to make a chicken kiev
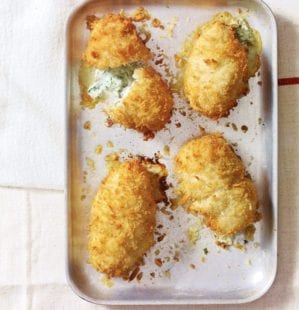
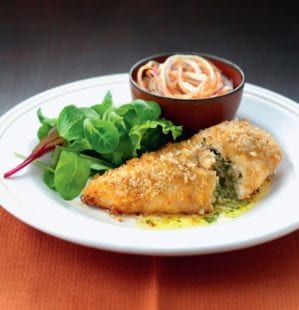
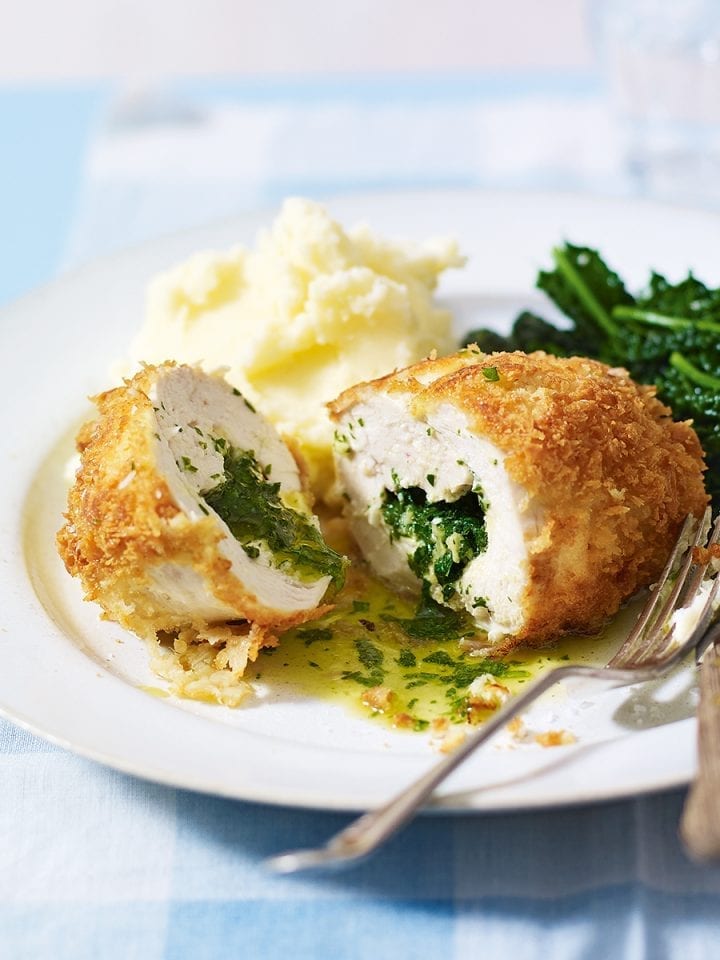
Most can conjure up memories of eating a chicken kiev for dinner but not many have cooked them from scratch. Master how to make gorgeous, buttery homemade chicken kievs with our step-by-step photographic guide.
You will need
- 75g unsalted butter, slightly softened
- Small bunch fresh parsley, very finely chopped (about 5 tbsp chopped parsley)
- 2-3 garlic cloves, crushed
- 4 skinless free-range chicken breasts
- 75g plain flour for dusting, seasoned with salt and pepper
- 2 medium free-range eggs, beaten
- 75g dried or panko breadcrumbs
- Vegetable oil for frying
This recipe serves 4 people. Hands-on time 45 min, oven time 12-15 min, plus chilling time.
Make ahead
- You can prepare the kievs up to the end of step 3, then wrap tightly in cling film and keep overnight in the fridge. Continue from step 4.
- Freeze the uncooked, stuffed and breaded kievs on baking sheets until solid, then store in a freezer bag or sealed container for up to 3 months. Defrost fully before cooking.
- The prepared butter can be kept in the freezer, wrapped in baking paper and cling film, for up to
- 3 months. Make extra and slice off as you need it – it’s great used to top steaks, steamed vegetables, grilled chicken or in garlic bread.
Tips for success
- Flavour the butter with tarragon, basil, lemon zest or a mixture of your favourite herbs. Make extra butter to pour over to serve.
- For extra hold, wrap the stuffed chicken tightly in cling film and chill well before breading. Even breaded, the kievs can be kept in the fridge, uncovered, for up to an hour until you’re ready to cook.
- Be thorough with breading. Make sure all seams and gaps are dusted well in flour, egg and breadcrumbs. If a bare patch appears don’t be afraid to dip in egg and breadcrumbs a second time.
- Use a good layer of oil in the pan and make sure it’s shimmering hot before you add the chicken so it crisps and seals immediately.
1. In a bowl, mix together the butter, parsley (see Tips For Success) and garlic with a good pinch of salt and pepper until well combined. Spoon the herb butter onto a sheet of baking paper and roll up into a short, fat cylinder. Freeze for at least 15 minutes or until firm.
2. Meanwhile, put each chicken breast between 2 sheets of cling film and put them onto a chopping board. Bash them gently with a rolling pin until they are an even thickness (about 7.5mm or as thin as you can without tearing the meat).
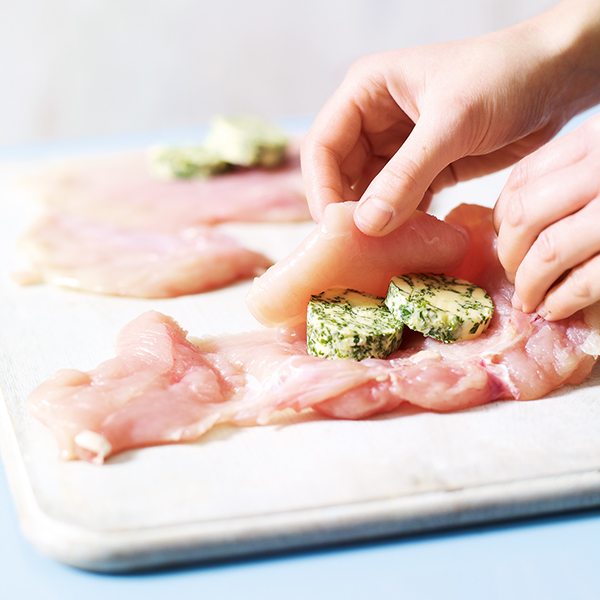
3. Remove the butter from the freezer and slice thinly. Divide the slices among the flattened chicken breasts, placing them in the middle of each (you may have some butter left over). Fold over the long sides of the flattened chicken, enclosing the butter as much as possible.
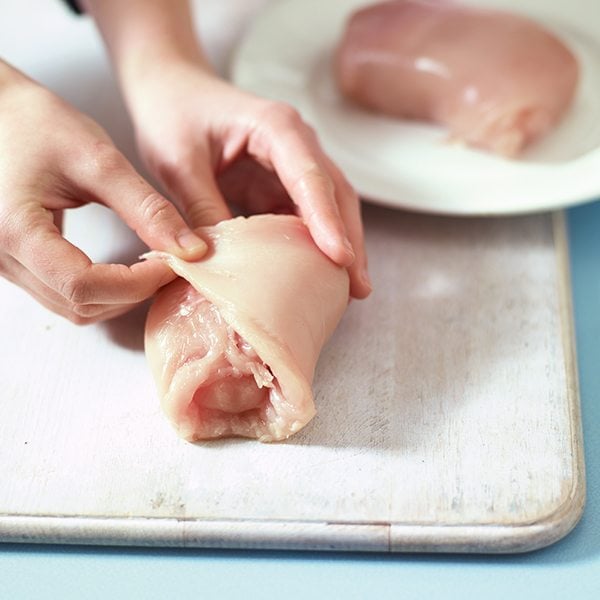
4. Fold the short ends over the folded sides/butter to make a neat parcel with the seam on top. Turn the parcels over so the seam is underneath, put on a clean tray or chopping board, loosely covered with cling film and chill for 30 minutes.
5. Heat the oven to 200°C/fan180°C/gas 6. Put the seasoned flour, beaten eggs and breadcrumbs in 3 separate bowls, in that order. Remove the chicken from the fridge and, working with one at a time, dust each kiev in the flour, gently shaking off any excess, then dip into the eggs and coat in the breadcrumbs, making sure each one is completely covered.
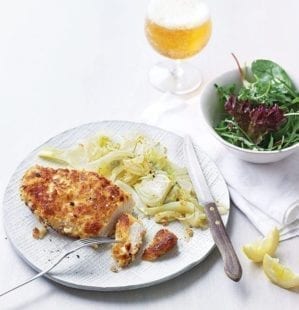
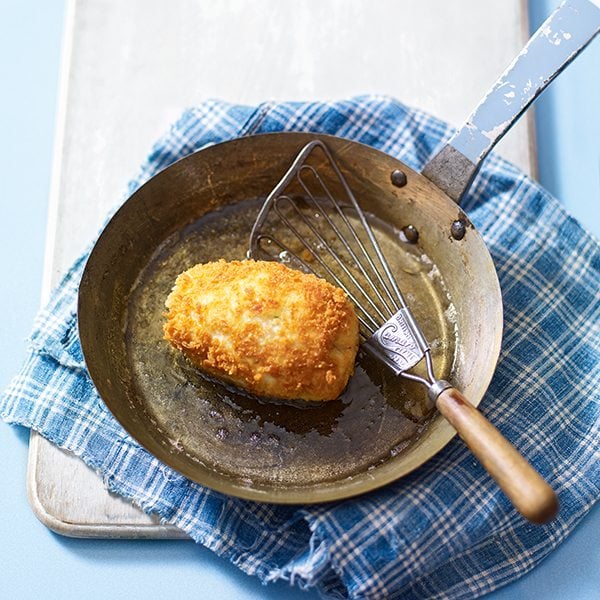
6. Heat a good layer of oil, 1-2cm deep, in a heavy-based frying pan over a medium-high heat. When the oil is shimmering, carefully put the kievs into the pan, with the seal underneath (you may need to do this in batches). Fry for 4-5 minutes, turning gently onto each side to brown. Carefully transfer to a baking sheet, then bake for 12-15 minutes. If they are turning too dark, cover loosely with a sheet of foil. Remove from the oven and serve with mashed potatoes or steamed rice and greens, with extra garlic butter if you like.
Subscribe to our magazine
Food stories, skills and tested recipes, straight to your door... Enjoy 5 issues for just £5 with our special introductory offer.
Subscribe
Unleash your inner chef
Looking for inspiration? Receive the latest recipes with our newsletter
