Mini baked alaskas
- Published: 2 May 24
- Updated: 26 Jul 24
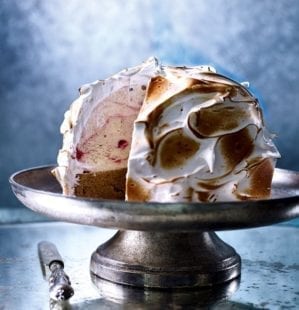
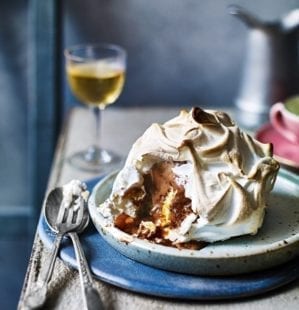
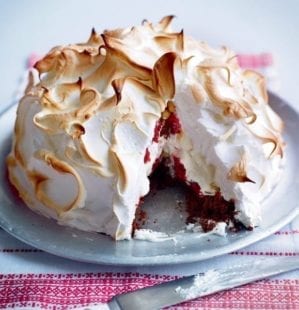
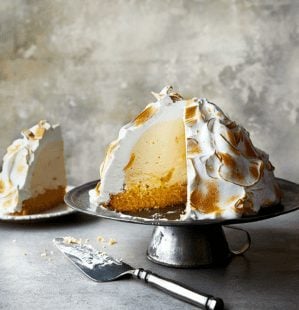
Introducing our failsafe mini baked alaskas. This tried-and-tested recipe by food producer Pollyanna Coupland combines a spiced chocolate no-churn ice cream with a sturdy sponge base, no-cook freezer jam and silky torched swiss meringue. See Know-how for Pollyanna’s breakdown of all the skills this brilliant from-scratch recipe covers.
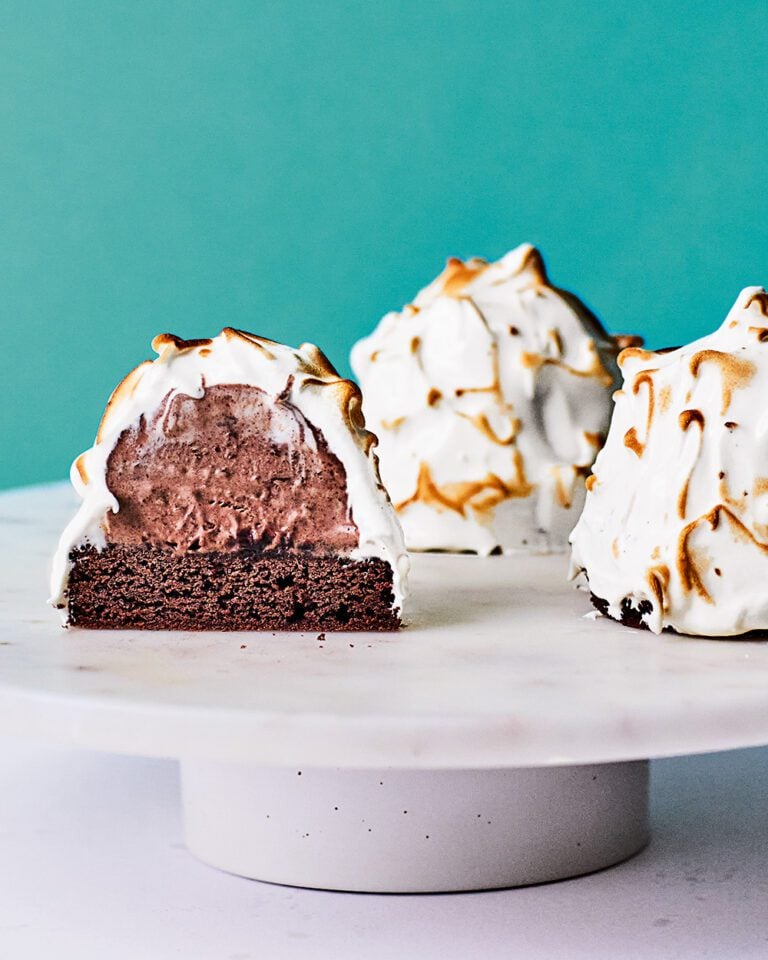
Looking for a large baked alaska to serve as a centrepiece? Try this stunning tropical baked alaska.
Ingredients
For the jam
- 75g jam sugar
- 75g frozen raspberries, defrosted
- Squeeze lemon juice
For the ice cream
- 150g dark chocolate (at least 70% cocoa)
- 500ml double cream
- 397g tin condensed milk
- 30g cocoa powder
- 1½ tbsp ground cinnamon
- ½ tsp fine salt
For the sponge
- 115g unsalted butter, softened
- 115g caster sugar
- 2 large free-range eggs
- 85g self-raising flour
- 25g cocoa powder
- 2 tbsp whole milk
For the meringue
- 4 large free-range egg whites
- 200g caster sugar
- ¼ tsp cream of tartar
Specialist kit
- 20cm x 30cm baking tray
- 7cm round cutter
- Thermometer
- Blowtorch
Method
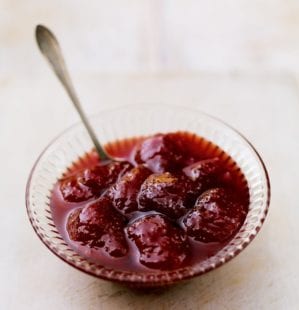
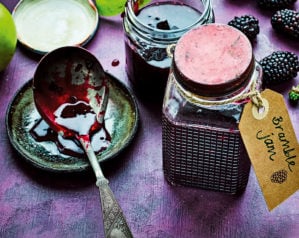
- To make the jam, whizz the jam sugar in a food processor or blender for a minute or so to make it finer (this stops your jam having a gritty texture). Put the raspberries in a container and crush with a fork or potato masher. Stir in the whizzed sugar, add a squeeze of lemon juice, then leave for 30 minutes to macerate, stirring it every now and then. Transfer to the freezer for at least 24 hours. Defrost before using.
- To make the ice cream, break up the chocolate and melt either in a bowl set over a pan of simmering water (don’t let the water touch the bowl) or in the microwave in short bursts, then leave to cool slightly. Pour the cream into a mixing bowl and whip until it just reaches the soft peak stage – when you lift the beaters out, the peaks flop over. Stir in the slightly cooled chocolate. The difference in temperature will produce small lumps rather than a smooth mixture but this is a good thing, as it creates little melt-in-themouth chocolate pieces when the ice cream freezes.
- Stir in the condensed milk, then sift in the cocoa powder and add the ground cinnamon and salt. Stir to combine, pour into a container and freeze for at least 4 hours.
- To make the sponge, first make sure your freezer jam is defrosted (you’ll need 6 tbsp jam). Heat the oven to 160°C fan/gas 4 and line a 20cm x 30cm baking tray with baking paper. Beat the softened butter and sugar together until pale and fluffy – around 4 minutes in a stand mixer or 8 minutes by hand. Crack in the eggs and beat again, then gently mix in the flour, cocoa powder and milk (it should be quite a thick sponge batter). Tip into the lined tray, smooth out, then bake for 8 minutes. Leave to cool.
- Use a 7cm round cutter to stamp out 6 discs from your sponge, then put them on a tray or your serving plates. Spread the top of each sponge with 1 tbsp freezer jam. Dip an ice cream scoop in hot water, then scoop out 6 balls from the chocolate ice cream, placing one on top of each of the jammy sponges. Transfer all of them to the freezer.
- To make the meringue, put the egg whites, sugar and cream of tartar in a clean bowl set over a pan of gently simmering water (make sure the bowl doesn’t touch the water). Whisk until the sugar has completely dissolved and the temperature reaches 80°C on a thermometer. It’s important it reaches this temperature because it gives the meringue stability, so do be patient as it takes around 8-10 minutes. Transfer to a stand mixer and whisk at the highest speed for about 7 minutes until it cools to just above room temperature. Keep an eye on it as over-whipped meringue can split.
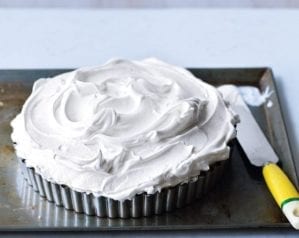
- Take one ice cream-topped sponge out of the freezer and use a small palette knife or butter knife to apply the meringue all over the ice cream. Start from the sponge base and gently drag the meringue upwards. Once the ice cream is completely covered, you can make decorations in the meringue by dragging a clean knife against it, up then outwards to create little spikes. These spikes not only look good but catch the blowtorch, giving you deliciously chewy, caramelised bits of meringue. Work one by one, as quickly as you can, putting each alaska back in the freezer as soon as it’s finished. Blowtorch the meringue at the table for a bit of culinary theatre.
- Recipe from May 2024 Issue
Nutrition
- Calories
- 573kcals
- Fat
- 24g (14g saturated)
- Protein
- 9.6g
- Carbohydrates
- 79g carbs (67g sugars)
- Fibre
- 2.6g
- Salt
- 0.4g
delicious. tips
The ice cream and jam can be made 2 months in advance and kept in the freezer, but the sponge and meringue are best made as close to assembling the alaskas as possible. You can also freeze the completed alaskas for up to a month, then serve from frozen – just give them a blowtorch and wait a few minutes for the meringue and sponge to soften.
1 No-churn ice cream can often be a little disappointing – ending up a block of rock hard custard full of ice crystals. The secret? Condensed milk. Its higher sugar and lower water content (up to 60% of its water has been removed) means it doesn’t set solid and, when combined with whipped cream, creates a light, airy texture without the need for fancy gadgets.
2 Freezer jam sits somewhere between true jam and a compote. It needs no heat and gives a much fresher fruit flavour as a result. Crushed berries are macerated in jam sugar to create a chunky, juicy concoction that sits in the freezer until you need it. And there’s no need for sterilised jars.
3 A fluffy sponge is a must, and a prerequisite for all sorts of cakes and puddings. Here are my top tips: Make sure butter is properly softened and eggs are at room temperature. Heat the oven before starting – you’ve taken all that time to beat air into the batter, so don’t let it deflate while you wait for the oven to heat up. Thin sponges like this one take a surprisingly short time to bake. Lightly touch the top; if it isn’t liquid and springs back, it’s ready. Leave to cool and wait until the last moment to cut it; it turns stale quickly.
4 Swiss meringue cooks while you whisk it, so it doesn’t need a separate bake (unlike french meringue) and it’s easier than italian meringue (which involves pouring boiling syrup into a running stand mixer). For a strong swiss meringue with the best peaks, make sure you use a spotlessly clean bowl, whisk at a high speed and use it as soon as it’s ready.

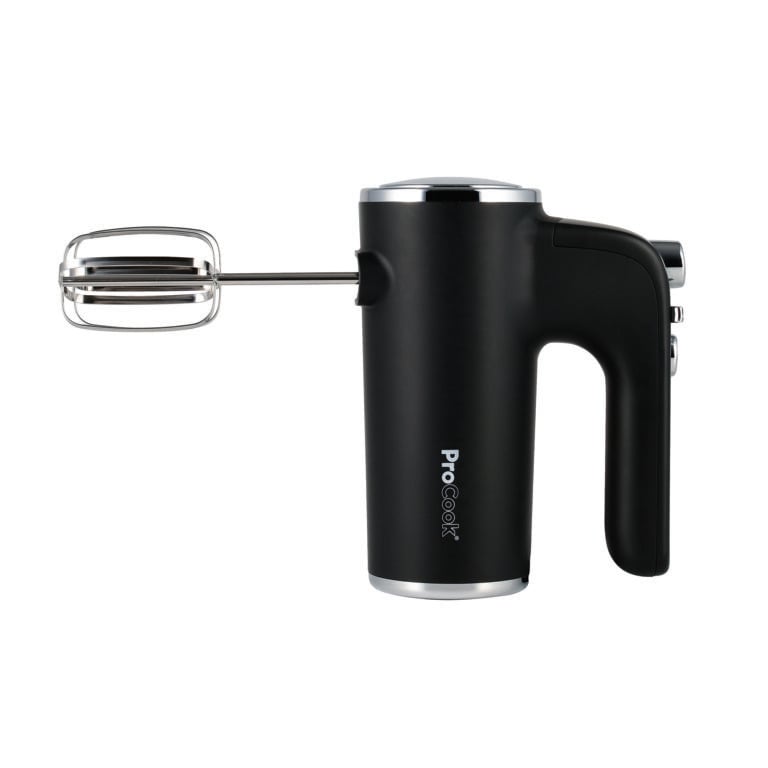
With five speed settings, this nifty hand mixer will whip the lightest meringues, cream or whatever you need, while letting you stay in close control. It’s light and easy to handle and has a self-stand design to minimise mess and allow for easy storage.
Price correct May 2024
Buy ingredients online
Rate & review
Rate
Reviews
Subscribe to our magazine
Food stories, skills and tested recipes, straight to your door... Enjoy 5 issues for just £5 with our special introductory offer.
Subscribe
Unleash your inner chef
Looking for inspiration? Receive the latest recipes with our newsletter

