
Chocolate babka
- Published: 20 Feb 17
- Updated: 18 Mar 24
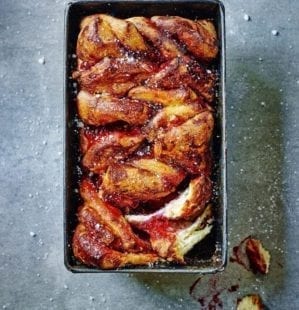
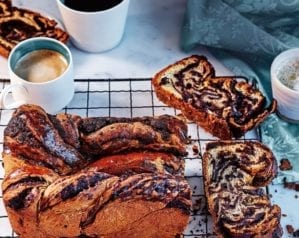
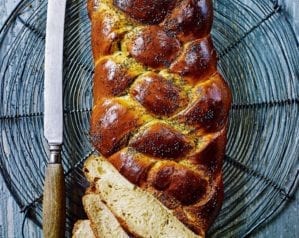
A cross between bread and cake that’s swirled with cinnamon-spiced chocolate – after one delightful slice, you’ll know this babka was worth every bit of effort. Serve for brunch, afternoon tea, or any time you need perking up.
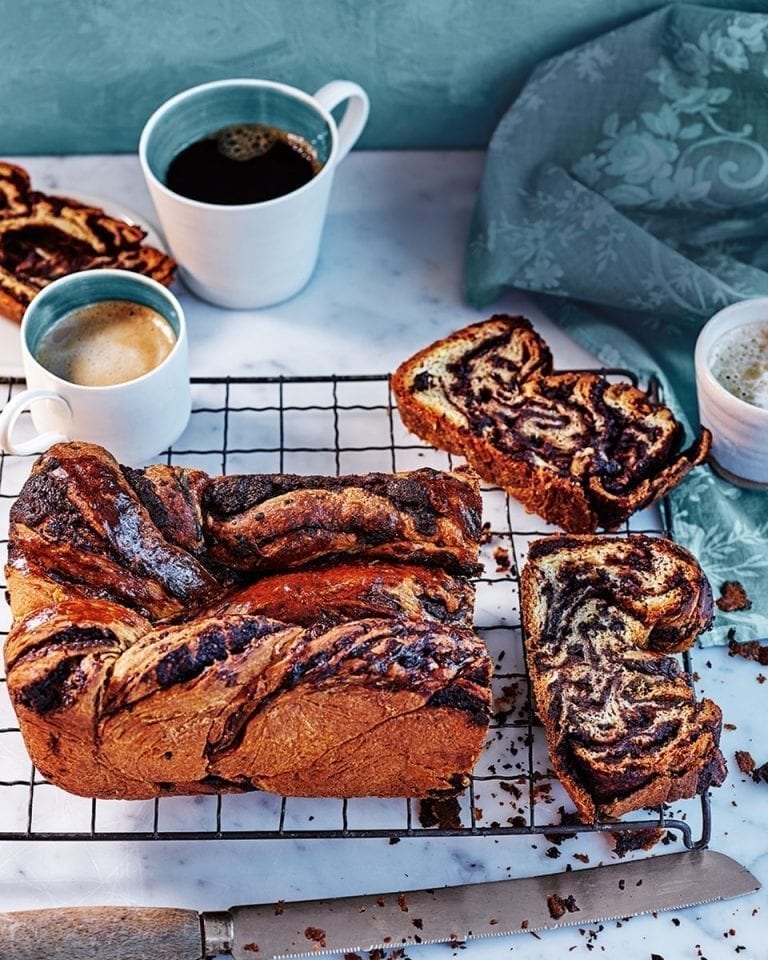
For more handy tips for success and step-by-step images too, see the full guide to making a chocolate babka.
-
Makes 1 loaf (serves 8-10)
-
Hands-on time 35 min, oven time 1 hour, plus rising, proving, chilling and cooling
Ingredients
- 150ml whole milk
- 80g unsalted butter at room temperature, plus extra to grease
- 145g plain flour, plus extra to dust
- 125g strong white bread flour
- ½ tsp fine salt
- 40g caster sugar
- 7g fast-action dried yeast
- 2 large free-range eggs in separate bowls, lightly beaten
For the filling
- 60g unsalted butter
- 80g soft light brown sugar
- 100g dark chocolate (70% cocoa solids), roughly chopped
- 2 tbsp cocoa powder
- 2 tsp ground cinnamon
You’ll also need…
- 2 litre loaf tin (about 25cm x 13cm), lightly buttered
Method
- Gently warm the milk and 40g of the butter in a small saucepan until the butter has melted – don’t let it boil. Put the flours, salt, sugar and yeast in the bowl of a stand mixer and mix until just combined. Make a well in the centre, then pour the warmed milk and one of the beaten eggs into the bowl. Mix with a wooden spoon until just combined.
- Mix at medium speed with the dough hook for 15 minutes until smooth. The dough will seem very wet before mixing but will stiffen up when kneaded.
- Turn the speed up slightly and add the remaining butter, a tablespoon at a time, making sure each addition is incorporated into the dough before adding the next. Mix for 5 minutes until the dough is smooth and slightly sticky. Cover the bowl with cling film and leave to rise at room temperature for 45-60 minutes until nearly doubled in size. Chillin the fridge for another 30 minutes.
- Meanwhile, make the filling. Put the butter and sugar in a small saucepan and gently heat until melted, then add the remaining ingredients and stir until well combined. Remove from the heat and allow to cool until barely warm. It may look a little grainy because of the sugar but that’s fine.
- Flour the work surface and tip the dough onto it. Sprinkle the dough with flour and roll out to 28cm x 60cm. Keep moving the dough to make sure it doesn’t stick, dusting with extra flour if necessary. Spread the filling over the dough, and roll it up like a Swiss roll along the longer side.
- Finishing with the seam underneath, cut the dough lengthways down the centre, leaving the halves attached at one end by about 4cm. Twist the two pieces around each other, then lay the dough into the loaf tin, lowering it from one side to the other and back up again in a zig-zag [K], until used up (roughly 4 turns). It doesn’t have to be neat. Cover loosely with cling film and leave in a warm place to prove for about 30 minutes. It has risen enough when your finger leaves a slight indentation when lightly prodded. Heat the oven to 180°C/160°C fan/gas 4.
- Very gently brush the top of the loaf with the remaining beaten egg, then bake for 50-60 minutes, loosely covering with foil after 25 minutes. Leave to cool in the tin for 10 min, then turn out onto a wire rack and leave to cool completely.
- Recipe from January 2017 Issue
Nutrition
- Calories
- 388kcals
- Fat
- 22.5g (13.5g saturated)
- Protein
- 6.8g
- Carbohydrates
- 38.3g (18.6g sugars)
- Fibre
- 2.5g
- Salt
- 0.3g
delicious. tips
As this is such a soft, sticky dough you’ll find it a lot easier to use a stand mixer if you have one. If you don’t though, follow the kneading method in our handmade brioche recipe here – but be warned, it’s hard work.
When incorporating the butter, make sure it really is at room temperature or it won’t mix into the dough (don’t microwave it to soften).
The dough is very pliable, so when twisting, it may stretch a little bit, but don’t worry. It looks much neater when it bakes than when it has been put into the loaf tin.
Try not to open the oven unless necessary when baking as the bread could collapse.
Cool the chocolate filling to the point where it’s still fluid and only just warm. If it starts to get too cold it will seize, so warm it up again.
Babka is best eaten on the day it’s made, but it will keep for up to 24 hours wrapped in cling film.
Buy ingredients online
Rate & review
Rate
Reviews
Share a tip
Subscribe to our magazine
Food stories, skills and tested recipes, straight to your door... Enjoy 5 issues for just £5 with our special introductory offer.
Subscribe
Unleash your inner chef
Looking for inspiration? Receive the latest recipes with our newsletter

I am sure the liquid quantity is wrong. I have made this twice now but have had to add masses of flour to get a dough not a slurry. Paul Hollywood’s recipe is similar, but a third of the liquid! Will try his next!
Hi Peter, thanks for pointing this out – we’ll retest the recipe and get back to you!
This was my first foray into making ‘bread’ – but inspired by a friend’s pictures of Babka. I was a little anxious about the instructions, but they were actually really clear and helpful. The only thing I would say is that if you want the mixture to ‘prove’ in the given time, you really have to put it somewhere warm (and not just the worktop as suggested) – I ended up putting it in the oven, which I’d left open after it being on (but now switched off) and it did a super job! The end product was delicious and we have devoured it in less than 2 days! I think I might be making it again very soon!
Made this at the weekend. It was so good there was very little left to bring in to work, but my co-workers loved it. I’m planning on baking it again this weekend. And a stand mixer definitely helped!